
In Brief: Key Takeaways
Why Make Homemade Beef or Chicken Bone Broth?
While the convenience of store-bought products is tempting, making bone broth at home is simple, cost-effective, and ensures you get the most nutritious product possible. You have complete control over the quality of the ingredients, from the bones to the vegetables and water. As we discussed in Part 1 of this series, the health benefits are vast, and a homemade version guarantees you’re getting a pure, potent broth free from additives and preservatives.
Essential Ingredients and Equipment
The beauty of bone broth lies in its simplicity. You’ll need a large stockpot, glass jars for storage, and a few key ingredients.
For the Broth:
- Bones: 1 kg or more of high-quality bones (beef or chicken) per 5 liters of water. For chicken, use a whole carcass. For beef, use a mix of marrow bones and joints.
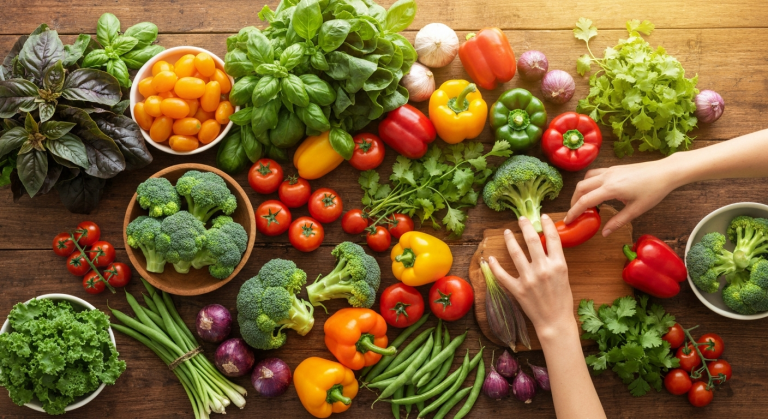
- Vegetables: Organic, coarsely chopped vegetables add flavor and nutrients. Good choices include carrots, onions, leeks, potatoes, sweet potatoes, parsley root, and celery root/stalks. Use about one vegetable per liter of water.
- Herbs and Spices: A quarter bunch of parsley, cilantro, or dill, along with bay leaves, allspice, black peppercorns, and salt to taste.
- Apple Cider Vinegar: 2-3 tablespoons. This acidic medium is crucial for helping to draw the minerals out of the bones.
- Water: Use filtered water for the purest result.
Step-by-Step Recipe for Homemade Bone Broth
- Roast the Bones (Optional): For a richer flavor, spread the bones on a baking sheet and roast at 180°C (350°F) for 30 minutes. If you’re using a carcass from a previously roasted chicken, you can skip this step.
- Soak the Bones: Transfer the roasted bones (and any rendered fat) to a large stockpot. Cover with cool, filtered water, add the apple cider vinegar, and let it sit for about 30 minutes.
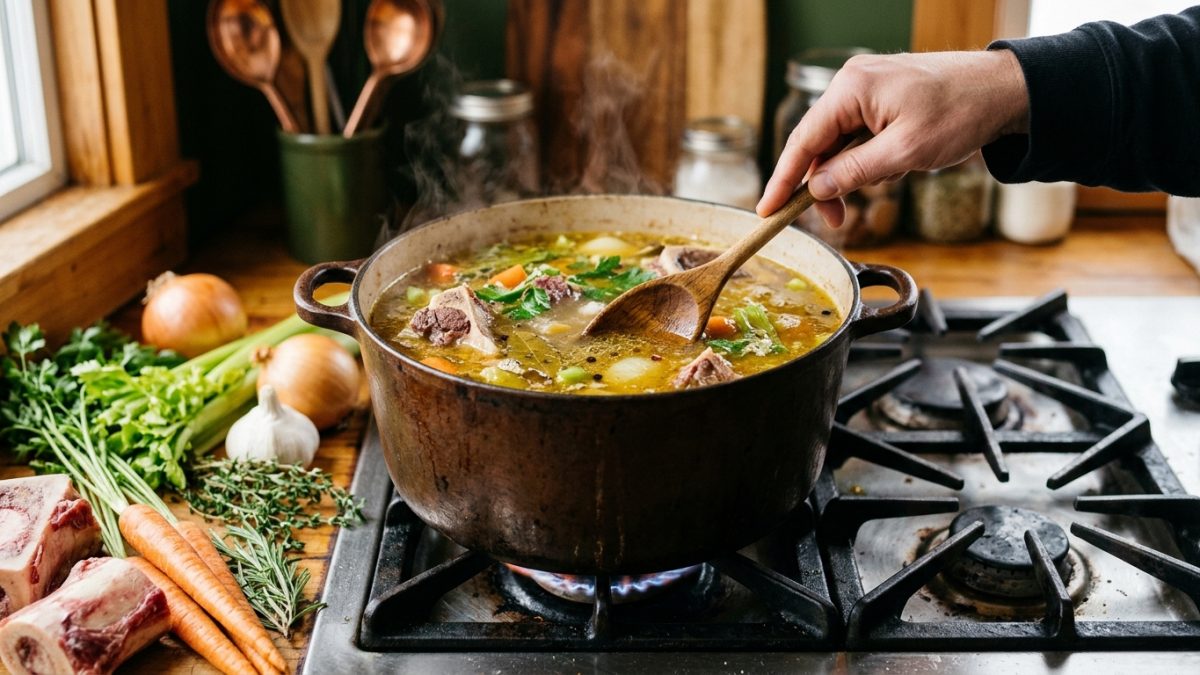
- Add Ingredients and Simmer: Add the remaining water, chopped vegetables, and spices to the pot. Bring to a rolling boil over high heat.
- Reduce Heat and Cook Low and Slow: Once boiling, reduce the heat to the lowest possible setting. The broth should maintain a very gentle simmer, with just a few bubbles breaking the surface. The longer you cook the broth, the more nutrient-dense and flavorful it will become. Recommended times are 12-24 hours for chicken broth and up to 48 hours for beef broth.
- Important Safety Note: Never leave a simmering pot unattended. If you need to leave the house, you can turn off the heat and resume simmering when you return.
- Strain the Broth: Once the cooking is complete, turn off the heat and let it cool slightly. Strain the broth through a fine-mesh sieve to remove all the bones, vegetables, and spices, leaving you with a clear liquid.
How to Store and Use Your Bone Broth
Storage
For best results, pour the hot broth into sterilized glass jars. To sterilize jars, you can wash them and then carefully rinse them with boiling water. If your jars have airtight lids, you can fill them with the hot broth, seal them, and immediately turn them upside down. This creates a vacuum seal, ensuring maximum sterility and a longer shelf life. Once the jars have cooled completely, store them in the refrigerator for up to a week. You can also freeze the jars for several months. Leave about 2-3 cm of space at the top, and keep the lids loose until the broth is frozen solid, because the liquid expands as it freezes and can crack a sealed jar.
Usage
Incorporating bone broth into your daily diet is easy. Any dish that calls for water can be made more flavorful and nutritious with broth.
- Use it as a base for soups, stews, and sauces.
- Replace some of the water with broth when cooking rice or quinoa.
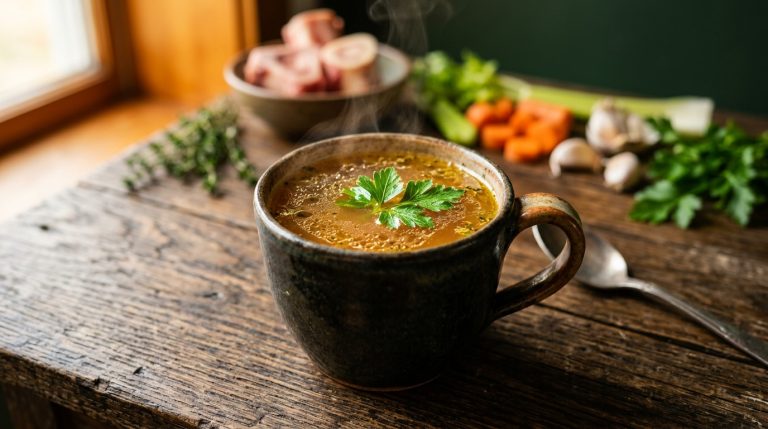
- Simply warm a cup and sip it on its own for a nourishing and comforting drink.